
Your First Wakesurf Lesson on Lake Austin: A Beginner’s Guide to Getting Up Safely
October 14, 2026 · By Jordan Miller
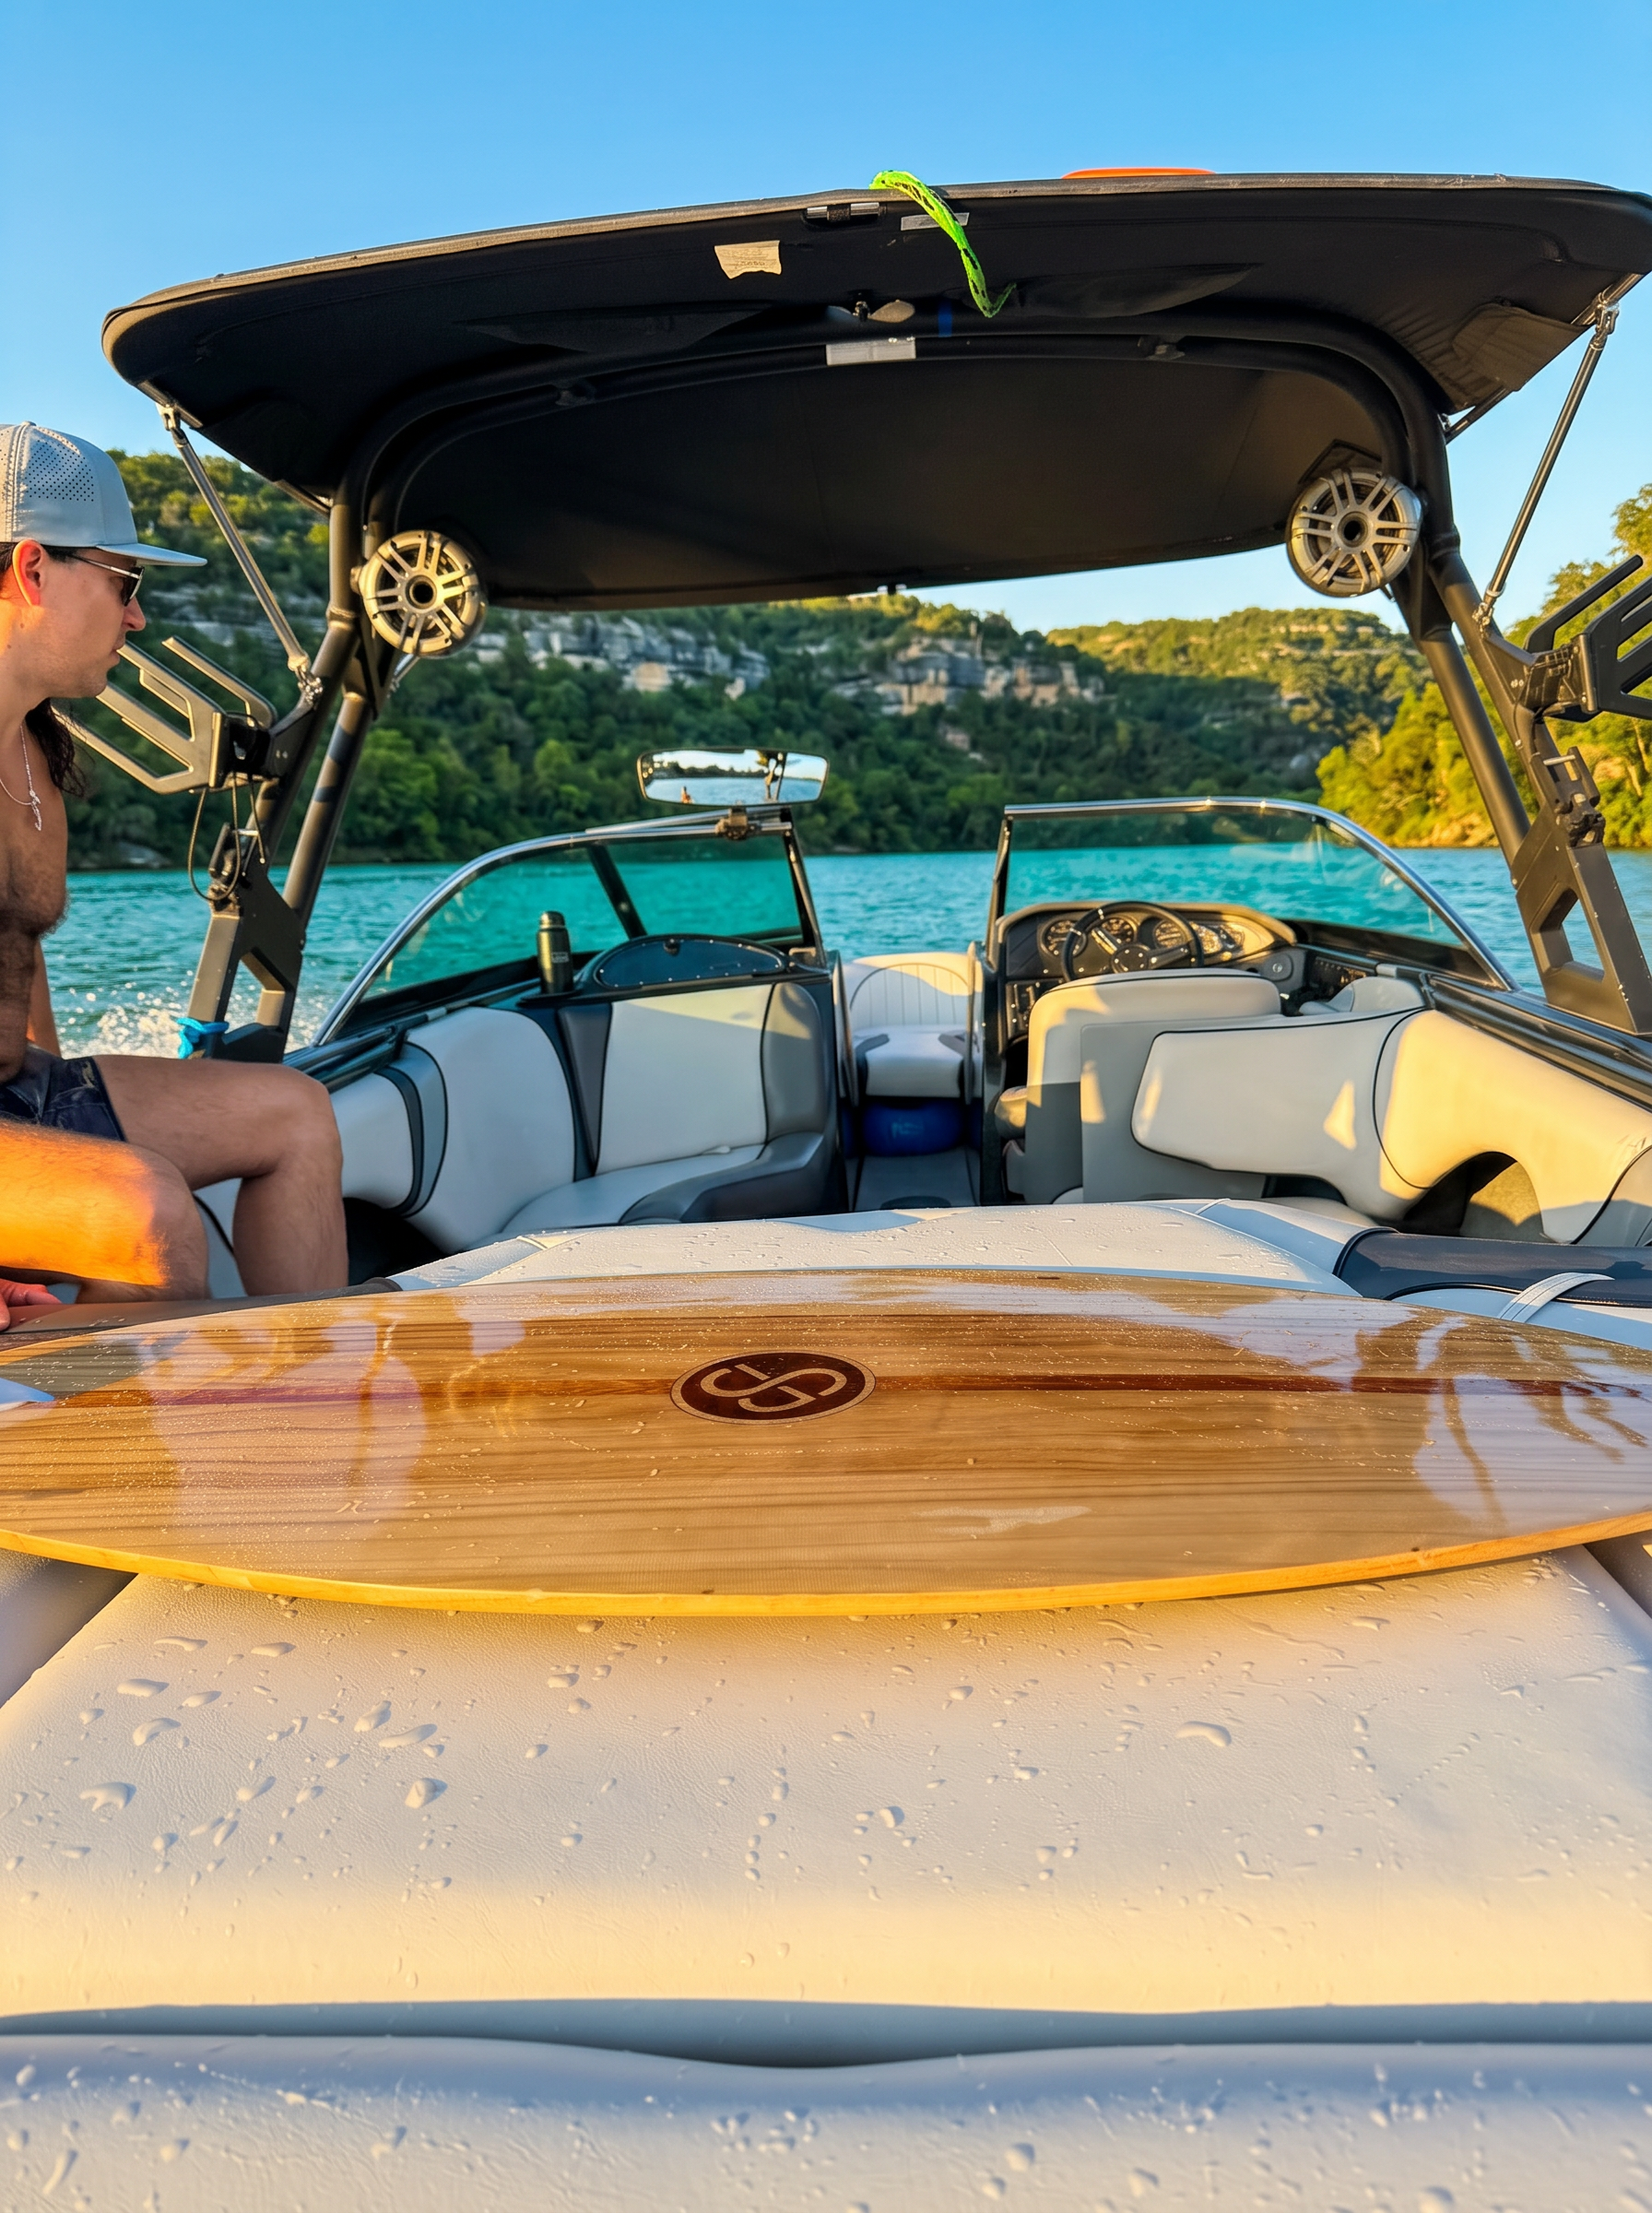
What should you expect from your first wakesurf lesson?
If you have never wakesurfed, the hardest part may happen before you touch the water: imagining that everyone else will get up immediately while you struggle behind the boat.
That is not a useful standard for a first lesson. A better goal is to understand the safety routine, get comfortable with the board, and make a little progress each time you try. Standing up is a milestone. Riding without the rope is another. Neither needs to happen on a schedule.
This guide is for adults planning a first wakesurf experience on Lake Austin, including the friend who organized the outing and the person who is quietly nervous about participating. It covers preparation, the deep-water start, common mistakes, and what to do when something feels off.
Texas Wakesurf Charters runs captained private wakesurf and boat charters on Lake Austin in Austin, Texas. Every charter includes an expert captain and water sports instructor, fuel, top-tier water sports equipment, and a complimentary cooler with ice. That means you can focus on learning rather than assembling a boat-day equipment list from scratch.
Choose a learning setup that fits your comfort level
A productive first outing starts with the right expectations, not the most ambitious itinerary.
Private charter or public wake surf session?
A private charter makes sense when you want to share the outing with your own group. It can be a good fit for friends with different experience levels, a family day, or a celebration where some guests want to surf and others mainly want to enjoy the boat.
Before booking, explain your group’s priorities. A group focused on giving several beginners a first attempt has different needs from a group that wants a mix of cruising, conversation, and riding.
Texas Wakesurf Charters also offers public wake surf sessions at $100 per person, with 5–8 people. These can be an option when you do not have a full private group. Confirm the session format and available dates before making plans, and remember that riding opportunities are shared among participants.
Review pricing for current booking information. A 20% mandatory gratuity is due to the captain, so include that in your budget rather than treating it as an optional extra.
Tell the instructor what you are worried about
You do not need to arrive sounding confident. Useful information includes:
- Whether you have tried wakesurfing, wakeboarding, skiing, or surfing before.
- How comfortable you feel swimming in open water.
- Any relevant injury, mobility limitation, or health concern.
- Whether falling, water depth, or being away from the boat makes you anxious.
- Whether you prefer one instruction at a time.
If a medical condition could affect your ability to participate, ask an appropriate healthcare professional beforehand. The captain can explain the activity and its practical demands, but a boating lesson is not a medical assessment.
What to bring and what you can leave at home
Because the charter includes water sports equipment, fuel, an instructor, and a cooler with ice, you do not need to buy a wakesurf board for your first outing.
You do still need to prepare for sun, water, and time outside.
Pack for movement and sun exposure
A practical beginner packing list includes:
- A secure swimsuit that stays in place when you fall.
- A rash guard or other comfortable sun-protective layer.
- Sunscreen, applied according to its label.
- A towel and dry clothing for afterward.
- Drinking water and any permitted refreshments you want to bring.
- Sunglasses and a hat for time on the boat, stowed before riding.
- Any personal medication you may need, protected from water and heat as appropriate.
Ask about storage and food or beverage rules before bringing bulky bags or a large spread. A complimentary cooler with ice does not mean drinks or snacks are supplied.
Remove dangling jewelry before riding. Keep phones, wallets, and car keys secured rather than loose on a seat or in an unsecured pocket.
Handle the logistics before departure day
Check the meeting instructions carefully. A Lake Austin outing is not a Lake Travis outing, and choosing a navigation destination based only on the word “lake” can create an avoidable scramble.
Use the Lake Austin guide as a planning resource, then follow the specific meeting information provided for your reservation. Review the policies and complete the waiver as directed.
Ask about arrival timing, weather decisions, and any participation requirements before the day of the charter. Those details are easier to resolve on land than while your group is trying to depart.
Learn the boat safety routine before learning the stance
The instructor’s briefing is part of the lesson, not a formality to rush through. Even if someone in your group has surfed elsewhere, the boat’s procedures and the day’s conditions still matter.
Wear a properly fitted life jacket
Wear the life jacket selected or approved for you by the crew. It should be appropriate for the activity and fit securely without restricting normal breathing.
Do not substitute an unapproved impact vest simply because it looks less bulky. If the jacket rides up, feels loose, or interferes with movement, ask for a fit check before entering the water.
Flotation is essential, but it does not replace swimming ability, supervision, or judgment. If you cannot swim or are uncomfortable in open water, disclose that before booking and ask whether participation is appropriate.
Let the captain control water entry and retrieval
Only enter the water when the captain says it is safe. Follow the crew’s exact directions for where to enter, where to wait, and how to return to the boat.
Never approach the stern, swim platform, or propeller area until the captain directs you to do so. The engine should be off before you approach or use the boarding area. Do not assume that a quiet boat or a boat that appears stationary is automatically safe to approach.
Keep clear of exhaust outlets and do not linger at the stern while an engine is running. Carbon monoxide can be dangerous around boats even outdoors.
Agree on signals before the first attempt
You may not hear ordinary conversation once you are behind the boat. Ask the instructor to demonstrate the signals used for:
- Ready to start.
- Stop or slow down.
- An okay rider after a fall.
- A rider who needs help.
- Ending the turn.
Passengers should let the instructor provide the main coaching. Several people shouting different directions can turn one manageable adjustment into a confusing situation.
Understand the equipment without getting lost in jargon
For a first lesson, you only need a working understanding of the board, rope, and wave.
The board should suit the rider
The instructor will consider your size, ability, and the available equipment when selecting a board. Beginners generally benefit from a setup that supports a stable, predictable ride, but there is no single board that is perfect for everyone.
Do not choose equipment solely because an experienced friend likes it. If you want to learn more about the boat setup before your trip, browse the vessel information and bring your questions to the crew.
Use the rope the way the instructor demonstrates
A wakesurf rope helps you get started and find a stable riding position. It is not something to wrap around your hand for a stronger grip.
Keep the rope away from your neck, arms, legs, and board. Never loop it around a body part or try to hold yourself up with a wrapped line. If you see slack near your feet or feel entangled, stop and alert the instructor.
Use the provided wakesurf equipment rather than improvising with another type of tow rope.
Wakesurf only behind an appropriate boat
Wakesurfing places the rider close to the boat. It requires a boat specifically suitable for the activity, with a propulsion arrangement that keeps the rider away from an exposed propeller.
Do not try to copy a wakesurf lesson behind a conventional outboard or sterndrive boat. On a charter, leave decisions about the boat setup, riding area, speed, and wave configuration to the captain.
The deep-water start: let the boat help you stand
Many beginners imagine that getting up requires a powerful pull-up. In practice, pulling hard often makes the start more difficult.
The instructor may adapt the setup to your body and board, but the central idea is consistent: begin compact, let the board come underneath you, and stand gradually.
Step 1: Get comfortable floating
Before the boat begins pulling, take a moment to breathe and settle into the life jacket. Keep your shoulders relaxed and follow the instructor’s directions for positioning the board and rope.
If you feel rushed, say so. Starting while tense or out of breath makes it harder to hear coaching and respond calmly.
You should know where the boat is, where the rope is, and what signal means you are ready.
Step 2: Set your heels and bend your knees
For a common heel-start technique, you float with the board across the direction of travel and your heels resting on its near edge. The instructor will show you the appropriate foot placement.
Keep your knees bent and your body compact. As the line becomes gently tensioned, heel pressure helps the board tip toward your feet.
Think of bringing the board into position rather than forcing your entire body upward. Avoid locking your knees or pushing the board far away.
Step 3: Let your arms stay long
When the pull begins, a common reaction is to bend your elbows and haul the handle toward your chest. That uses energy and can pull you out of position.
Instead, keep your arms relaxed and relatively straight, without rigidly locking your elbows. Let the boat provide the pull while you maintain the compact starting position.
A useful cue is: soft knees, long arms, patient rise.
Step 4: Let the board come beneath you
As the board begins to support you, stay low. Allow your feet and the board to move beneath your body rather than trying to stand while the board is still in front of you.
The transition should feel more like rising from a squat than climbing a rope. Looking toward the boat or where you intend to travel can help you avoid folding over to stare at your toes.
Step 5: Stand gradually and settle into your stance
Once the board is supporting you, rise slowly into an athletic stance. Keep your knees soft, your chest comfortable, and your weight centered over the board.
Follow the instructor’s cue for turning the board into the riding direction. Avoid a sudden twist or a big upper-body movement.
Your first successful ride does not have to look polished. A short, controlled glide is useful progress because it gives you a reference point for the next attempt.
Find your stance before trying to drop the rope
Once you are standing, there is a temptation to rush straight to the part everyone recognizes from videos: riding hands-free.
Keep the rope until the instructor says you are ready to release it. It is a learning tool, not evidence that you are doing it wrong.
Regular and goofy are just foot choices
A regular stance places the left foot forward. A goofy stance places the right foot forward. Neither is better.
If you have experience on a skateboard or snowboard, tell the instructor which foot you prefer forward. If you do not know, the instructor can help you explore a comfortable stance and coordinate it with the boat’s surf setup.
Do not let the labels become another thing to worry about.
Use small pressure changes
Once you are riding in a stable position, small weight shifts help control your position on the wave. In general, increasing pressure toward the front foot can help you move forward, while increasing pressure toward the back foot can help you slow down.
These are subtle adjustments, not large lunges. The board, wave, and your position all affect the response.
Keep your knees soft and listen to the instructor’s specific corrections. If you approach the boat too closely, follow the agreed stop procedure rather than improvising.
Look for reduced rope tension
The wave’s useful riding area is often called the pocket. As you find a position where the wave supports your motion, the rope may begin to lose tension.
Brief slack is encouraging, but it does not automatically mean you are ready to release the handle. First learn to maintain a stable position with the rope available.
When the instructor gives the go-ahead, release or pass the rope exactly as demonstrated. Do not throw it toward people or leave it trailing around your feet.
Common beginner mistakes and the simplest next adjustment
After a fall, ask for one correction. Trying to remember five instructions at once usually adds tension without improving the next start.
“I keep falling backward during the start”
You may be straightening your legs too early or pushing the board away before it can support you.
Try staying compact longer and letting the board come underneath your body. Ask the instructor to check your heel placement and starting position.
“My arms get tired immediately”
You may be using your upper body to pull yourself upright or holding unnecessary tension after standing.
Focus on relaxed, longer arms during the start. Once riding, avoid trying to hang your full weight from the handle. Take a break before fatigue makes your grip unreliable.
“I stand up, then fall right away”
The transition may be too abrupt, or you may be looking down and bending at the waist.
Try a slower rise and a soft-kneed stance. Look ahead rather than checking your feet continuously. Let the instructor decide whether foot placement also needs adjustment.
“I lose the wave when I let go”
You may have released the rope before finding a consistently supported position.
Spend more time riding with light rope tension and noticing where slack appears. Learning to stay in position matters more than releasing the handle early.
“Every attempt feels worse”
That can be a sign to rest, not a reason to try harder. Fatigue, frustration, cold, and heat can all interfere with coordination.
Take a break, drink water, and ask the instructor to reset the lesson around one manageable goal. You can also end your riding turn. A good outing does not require pushing through discomfort.
How to fall and reset safely
Falling is part of learning, but your response matters.
If you lose control, let go of the handle rather than trying to save the ride at any cost. Follow the instructor’s guidance for falling clear of the board. Do not dive headfirst, and do not try to land feet-first as though you are stepping onto solid ground.
Once in the water:
- Orient yourself and keep your airway clear.
- Give the agreed signal if you are okay.
- Keep track of the board without putting yourself in its path.
- Stay clear of loose rope and follow the captain’s directions.
- Wait for instructions before returning to the boat.
Do not swim after a departing boat. The captain manages the recovery approach.
Tell the crew immediately about pain, dizziness, breathing trouble, or a hard impact. If you feel unwell, stop riding; do not let a group’s enthusiasm make that decision for you.
Make your group helpful, not distracting
A first lesson goes better when the people on the boat support the process rather than score the results.
Cheer effort without creating pressure
Helpful comments sound like “That start looked more controlled” or “Take your time.” Less helpful comments include promising that someone will get up on the next attempt or comparing them with another guest.
Ask before filming, especially if a beginner feels self-conscious. A short clip can be useful for remembering the day, but the rider does not owe anyone a highlight reel.
Passengers should remain in the positions directed by the captain and avoid sudden movement around the boat to capture a better angle.
Keep riding separate from drinking
Do not ride while impaired by alcohol or drugs. For birthdays, bachelorette outings, and other celebrations, plan the activity so participants can make clear decisions and follow instructions.
Heat, fatigue, and time on the water can already affect how someone feels. Keep water available, take breaks, and tell the captain early if a guest is struggling.
Define success broadly
For one beginner, success may be standing and riding for a short distance. For another, it may be entering the water calmly, practicing the start, and deciding to try again another day.
If your group includes non-riders, ask about an outing format that accommodates them. Explore the available experiences, and describe the mix of interests before booking rather than assuming everyone must participate in the same way.
Let Lake Austin conditions shape the lesson
A booked outing does not guarantee identical water conditions from start to finish. Wind, other boats, visibility, and weather can affect where and how a lesson takes place.
The captain is responsible for choosing an appropriate operating area, maintaining safe distances, and responding to changing conditions. A beginner should not pressure the crew to ride closer to shore, ignore traffic, or continue when conditions are unsuitable.
Thunder, lightning, or other unsafe weather may require changing or ending activity. Review the booking policies in advance so you understand how weather decisions are handled.
Your part is straightforward: arrive prepared, listen to the briefing, communicate honestly, and stay flexible. The instructor can work with a nervous beginner much more effectively than with a rider who hides fatigue or discomfort.
A simple plan for your first outing
Keep your first wakesurf experience focused on a few achievable steps:
- Before booking: Explain your experience level, swimming comfort, and group priorities.
- Before departure: Confirm the meeting instructions, review policies, and handle the waiver as directed.
- On the boat: Check your life jacket fit and learn the signals and retrieval procedure.
- In the water: Get comfortable, stay compact, and let the boat help you rise.
- Between attempts: Ask for one correction and rest when needed.
- Once standing: Build a stable stance before thinking about releasing the rope.
You do not need to arrive with special vocabulary, expensive gear, or a promise to get up immediately. Preparation and clear communication give you a much better starting point than trying to impress the boat.
Ready to plan your first lesson on Lake Austin? Book a charter with Texas Wakesurf Charters and share your group’s experience level when you reserve.
Frequently asked questions
Do I need surfing experience to try wakesurfing on Lake Austin?+
No prior surfing experience is necessary to begin learning. Tell the instructor about your swimming comfort, any board-sport experience, and relevant physical limitations so they can assess participation and tailor the coaching. Standing up or riding without the rope is not guaranteed on a first outing.
What is included with a Texas Wakesurf Charters private charter?+
Every charter includes an expert captain and water sports instructor, fuel, top-tier water sports equipment, and a complimentary cooler with ice. A 20% mandatory gratuity is due to the captain. Check the pricing page for current booking details.
Can I join a wakesurf session without booking a private charter?+
Texas Wakesurf Charters offers public wake surf sessions at $100 per person, with 5–8 people. Confirm available dates, the session format, and applicable booking details before reserving.
What should I wear for my first wakesurf lesson?+
Wear a secure swimsuit and consider a comfortable rash guard for sun protection. Use the properly fitted life jacket selected or approved by the crew. Remove dangling jewelry, stow loose accessories before riding, and bring a towel and dry clothing.
Why do I keep falling backward when trying to get up?+
Common causes include standing too early, straightening your legs, or pushing the board away. Stay compact, keep your arms relaxed and relatively straight, and let the board come beneath you before rising. Ask the instructor to check your setup and give you one adjustment at a time.
When should a beginner let go of the wakesurf rope?+
Wait until you can maintain a stable position with the wave supporting your motion and the instructor says you are ready. Brief slack in the rope is a useful sign, but there is no need to rush. Release or pass the rope only as demonstrated by the instructor.
Ready to ride?