
How to Carve on a Wakesurf Board: A Safe Progression From Straight Riding to Controlled Turns
October 23, 2026 · By Jordan Miller
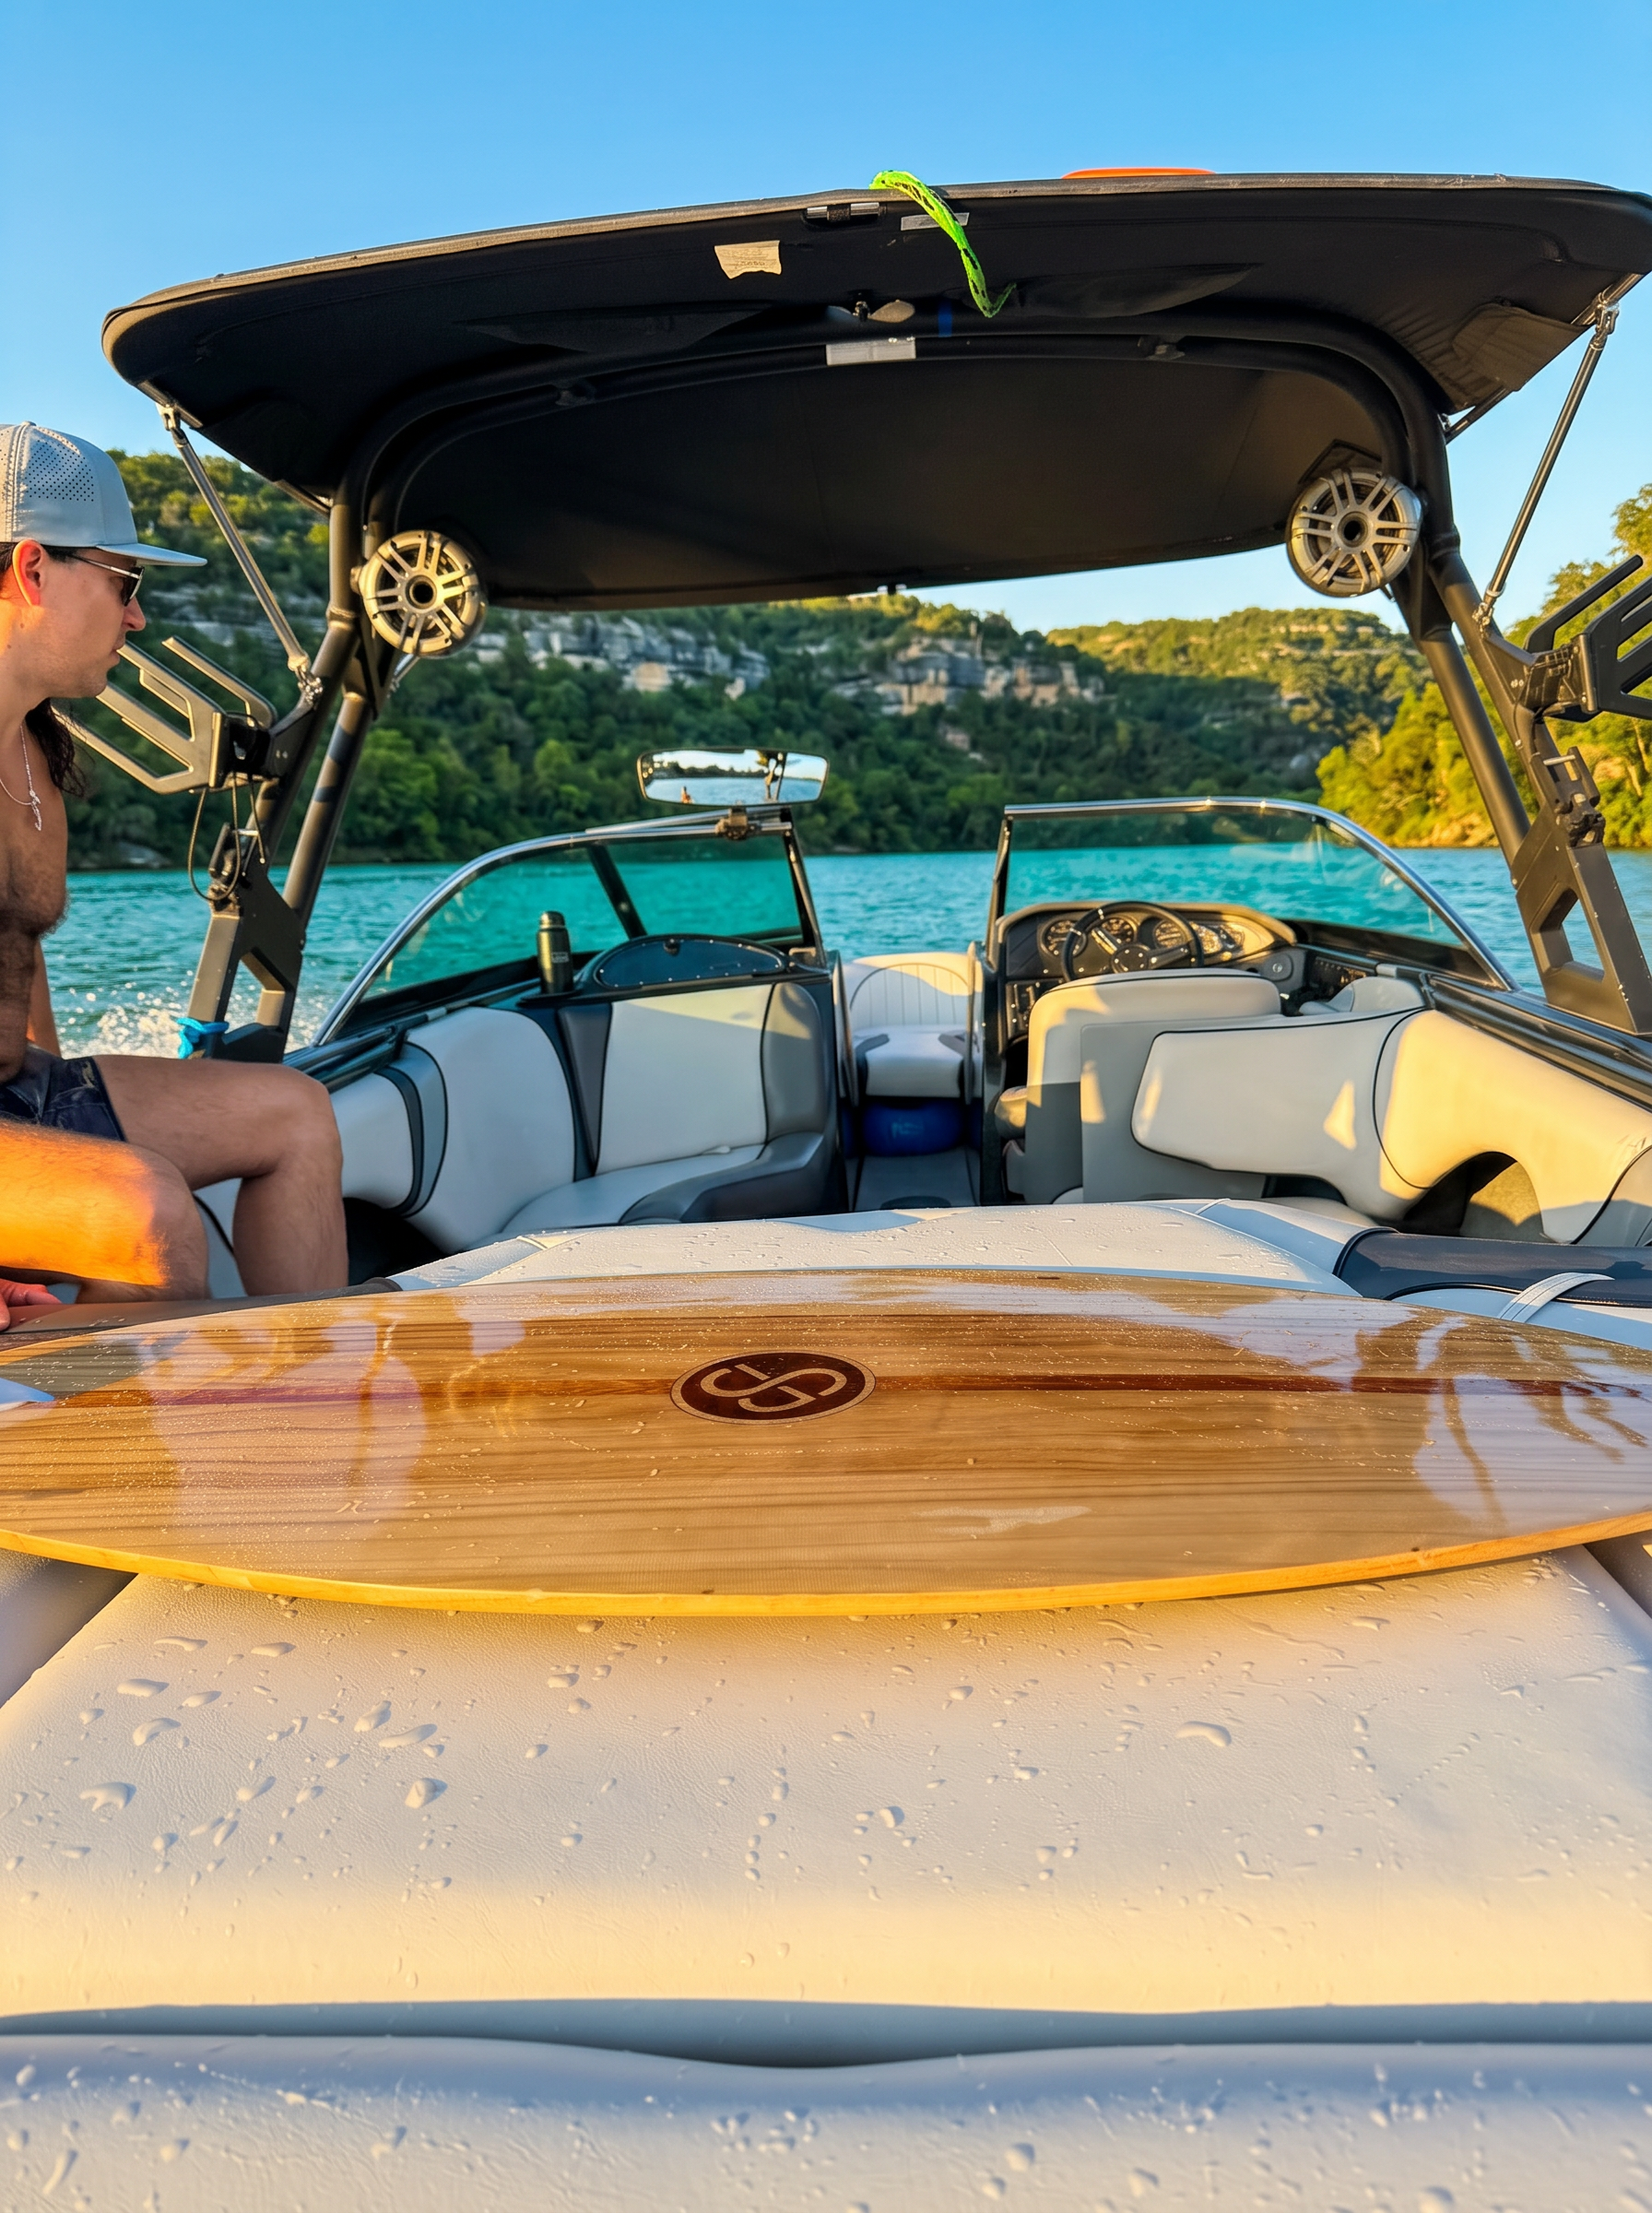
Getting up and riding straight are satisfying milestones. Then comes a new question: how do you actually turn a wakesurf board without falling, losing the wave, or rushing toward the boat?
Learning to carve is about changing direction while managing the energy available in the wave. It is not simply leaning harder or swinging your shoulders. The best starting point is a turn small enough that you can finish it calmly and ride straight again.
This guide explains how to carve on a wakesurf board with small direction changes, controlled returns to the pocket, and clear signs that you should reset. It is designed for riders who can already hold a reasonably stable line and want a practical next step during an instructed Lake Austin session.
What carving means in wakesurfing
A carve is a controlled, arcing direction change made by guiding the board onto an edge, also called a rail. Rather than skidding the tail around, you use coordinated pressure and body movement to let the board follow a curved path.
For an early progression, think of moving gently down the wave face, then guiding the board back toward a sustainable riding line. You are not trying to climb as high as possible or create a dramatic burst of spray.
A useful first carve is a small, repeatable direction change that lets you return to a stable riding position. Start with control, not spray.
Carving is different from pumping
Pumping uses repeated, coordinated movements to generate or preserve speed. Carving focuses on changing your path through the wave. The skills eventually overlap, but trying to learn both at once can make your movements rushed and difficult to diagnose.
For your first turns, avoid adding a rhythmic bounce. Make one deliberate direction change, recover your line, and check whether you still feel balanced.
Carving is different from pivoting
A pivot turns the board more abruptly around a smaller area. A carve follows an arc, with the rail helping guide the board through the water.
If your shoulders spin but the board barely moves, you are probably twisting your body rather than guiding a turn. A small, connected movement is more useful than a large upper-body rotation.
Check your readiness before attempting turns
You do not need to be an advanced rider to begin learning gentle direction changes. You do need enough basic control that the turn is not competing with every other part of the ride.
Before introducing carving, ask your instructor to assess whether you can:
- Ride with relaxed knees instead of locking your legs.
- Hold a consistent position without repeated emergency corrections.
- Recognize when you are gaining or losing speed.
- Follow instructions without staring continuously at your feet.
- Return to a neutral riding position after a small adjustment.
- End an attempt safely when the ride stops being controlled.
These are practical checkpoints, not a test you need to pass under pressure. If riding straight still takes all your attention, more time on that skill will make turning easier later.
Do you need to be riding without the rope?
A rope can be useful during instructor-led preparation, but its presence changes the task. A turn made while pulling against a taut line does not show that you can maintain that same path using the wave alone.
Your instructor may use a light-contact drill to introduce direction changes before a ropeless attempt. Any such drill needs active rope management and clear instructions. Never wrap the rope around your hand, arm, or body, and do not try to carve across loose line.
Do not combine your first rope release with your first ambitious turn. Establish a calm riding line before adding another challenge.
Understand where the turn gets its energy
The wave is not equally supportive everywhere. The pocket is the area where the wave can sustain your ride, but it is a zone rather than a fixed dot. Its usable shape depends on the boat's setup, the rider, the board, and the conditions.
Moving down the wave face generally helps the board gain speed. Traveling back up uses some of that speed. Moving too far away from the supportive face can leave you without enough energy to return.
This creates a simple early goal: make a small excursion, then come back before you lose useful speed.
Think in paths, not isolated leans
A common beginner approach is to lean and wait for something to happen. A better approach is to picture the short path you want the board to follow.
Ask yourself:
- Where will this turn begin?
- Where should the nose point during the turn?
- Where do I want to finish?
- Can I finish without moving closer to the boat?
Your instructor can identify a suitable starting zone and describe the intended route using landmarks on the wave. Those cues are more useful than copying the size of someone else's turn.
Keep a conservative boundary near the boat
Carving is never a reason to deliberately approach the swim platform or test how close you can ride. Do not use touching the boat as a skill challenge.
Have the captain or instructor explain the operating boundaries before the attempt. If you are accelerating toward the boat and cannot calmly correct your position, follow the agreed procedure for ending the ride. Do not reach for the platform or try to save the turn at all costs.
Set up the learning environment
New movement patterns are easier to learn when the session has a clear structure. The captain should choose an appropriate operating area and decide whether traffic, visibility, and water conditions support the drill.
On Lake Austin, a section that felt manageable earlier may become less suitable as nearby boat activity changes. The correct response is to adjust the plan, not force the same exercise through every passing wake.
For planning context before your outing, review the Lake Austin guide. On the water, follow the captain's current assessment rather than treating any general guide as permission to proceed.
Agree on one coaching cue
Ask the instructor for one primary cue per attempt. Useful examples include looking toward the exit, keeping the turn shallow, or finishing in neutral.
Several people shouting different suggestions from the boat can make a simple exercise confusing. Let one instructor lead the technical feedback while the designated lookout and captain handle their responsibilities.
Check equipment without chasing a new setup
Use a properly fitted, activity-appropriate, U.S. Coast Guard-approved life jacket. Ride behind a boat specifically suitable for wakesurfing and operated by a knowledgeable captain.
Your board should be appropriate for your size and current ability. A board that feels manageable while riding straight is a sensible place to begin, rather than switching to a more demanding shape solely because you want sharper turns.
Ask the instructor about equipment concerns before changing fins or other components. You can explore supporting equipment topics in the knowledge base, but adjustments on a charter belong with the crew.
Build your first carve in manageable stages
Treat this progression as a framework for an instructed lesson, not a requirement to complete every stage during one outing. Repeat whichever stage gives you useful feedback without increasing risk.
Establish a quiet starting line
Begin from a position where the wave supports you and you are not already rushing forward or fading backward. Keep your knees comfortably flexed and your upper body relaxed.
Look ahead along the intended riding path rather than directly down at the nose. Let the board settle before initiating the turn.
If you are already making large corrections, wait. A carve started during a recovery often turns into a bigger recovery rather than a useful repetition.
Introduce a small direction change
With your instructor's cue, guide the board into a shallow arc. Use a coordinated movement through your lower body rather than throwing your head and shoulders sideways.
The pressure change should be progressive. You are asking the rail to engage, not stamping on the edge.
Keep the first movement deliberately modest. If the change looks unimpressive from the boat but feels controlled under your feet, it is doing its job.
Guide the return before speed disappears
Do not wait until the board is far from the supportive wave face to think about returning. Start guiding back while the board still feels responsive.
Look toward your intended finish and allow your hips and knees to help the board follow. Avoid snapping your shoulders around and expecting the tail to catch up.
The return is part of the carve, not an emergency maneuver after it. Planning it early keeps the whole movement smaller and smoother.
Finish in a stable riding position
After the return, reduce the turning input and allow the board to settle into its line. Avoid immediately throwing yourself into the next turn.
Ask whether you can ride calmly again. If the answer is no, reduce the size of the next attempt.
A good finish matters more than a dramatic middle. It shows that you controlled both the direction change and the speed that came with it.
Repeat before linking turns
Once a single turn feels repeatable, your instructor may introduce another after a stable reset. Gradually shorten that reset only when you can maintain control.
Linked turns should emerge from reliable individual turns. They should not be a series of near-falls that happen to keep you moving.
Use your eyes, knees, and rails together
Carving becomes easier when your movements agree with each other. Your eyes select a path, your body stays balanced over the moving board, and pressure through your feet helps engage the rail.
You do not need to exaggerate any one part of that sequence.
Look toward the exit, not at the spray
Looking where you intend to finish helps organize the movement. Staring at your feet or watching water come off the rail can leave you reacting late.
Choose a nearby, realistic destination on the wave. Looking far away and rotating aggressively can encourage a larger turn than you have the speed to complete.
Keep your legs available to absorb movement
Flexible knees allow you to respond to small changes in the face. Locked legs make it harder to adjust when the board accelerates or crosses uneven water.
Stay comfortably athletic rather than deeply crouched. An exaggerated squat can create fatigue and limit your ability to make a smooth pressure change.
Avoid a universal toe-side or heel-side prescription
The wave side and your stance affect which edge you use to move toward or away from the face. Advice such as “always push your toes to go up the wave” is not universally correct.
Have the instructor identify the relevant rail for your actual setup. Use consistent language such as “toward the wave” and “away from the wave” until the movement is clear.
Troubleshoot the most common first-turn problems
A missed carve can reveal a specific issue. Change one variable at a time so you can tell whether the adjustment helped.
You lose the wave as soon as you turn
The turn may be too wide, too slow, or started from a position that already lacks support. You may also be dragging the tail with excessive rear-foot pressure.
Begin from a stable pocket position and make a smaller arc. Focus on starting the return earlier instead of trying to rescue the ride with a sudden forward lunge.
If the same problem continues, let the instructor assess your board fit and the available wave rather than assuming the solution is more effort.
You gain speed and rush forward
A downward line may be steeper or longer than intended. Another possibility is that you maintain an accelerating pressure input after the board has already gained enough speed.
Reduce the size of the movement and finish it sooner. Ask the instructor to identify a conservative boundary and a clear reset cue.
Do not deliberately repeat a close approach to the boat to practice saving it. Move back to simpler control work.
Your upper body turns but the board stays straight
This often happens when the movement comes mostly from the shoulders. Your torso rotates, but your legs and rail pressure do not guide the board into an arc.
Reduce the shoulder movement. Practice a gentle, connected change in direction, with your lower body helping the board follow the intended path.
Think “guide the board” rather than “spin my body.”
The rail catches abruptly
An abrupt pressure change, an overly aggressive lean, or uneven water can interrupt the turn. Trying to force a sharp edge engagement before you have enough control can make the board feel unpredictable.
Return to shallower turns and build pressure gradually. If the surface has become choppy, pause the carving drill and let the captain decide whether to relocate, simplify the activity, or stop the attempt.
You fall when trying to stand up after the turn
You may be making a large up-and-down movement that shifts your balance just as the board changes direction. You may also be straightening your knees before the board has settled.
Keep the movement quieter. Finish with soft knees and allow the board to stabilize before making another adjustment.
Every attempt feels different
Inconsistent starting positions can produce inconsistent results even when you think you are making the same movement.
Reset in a familiar part of the pocket before each attempt. Keep the turn direction, size, and coaching cue consistent until you can identify what changes the outcome.
Know when to stop practicing the turn
Technique practice should end before fatigue turns every correction into a struggle. Tired legs, a weakening grip during rope-assisted work, and difficulty following cues are reasons to take a break.
Stop or simplify the drill when:
- You repeatedly approach a boundary identified by the captain.
- You cannot return to a stable line after the turn.
- Nearby wakes or traffic interrupt your attention.
- You feel pain, dizziness, unusual breathlessness, or confusion.
- The rope becomes a distraction or entanglement concern.
- The instructor tells you to reset or end the attempt.
A life jacket does not eliminate injury risk, and confidence is not a substitute for supervision. Avoid riding while impaired by alcohol or other substances.
If you fall, do not fight to stay attached to the board or rope. Follow the fall and pickup procedure established during your safety briefing, protect yourself from the board, and wait for the captain's instructions before approaching the boat.
Measure progress by repeatability
The size of your spray is a poor early measure of skill. A more useful question is whether you can repeat a small turn without losing your starting control.
After an attempt, discuss three things with your instructor: where you started, what happened during the arc, and whether you finished calmly. That short review helps separate a position problem from a movement problem.
If a companion records a clip from a safe seated position, video can help you see whether your movements match what you felt. Recording should never distract the captain or designated lookout from their duties.
You do not need to leave the session with linked carves. Recognizing when to begin the return, or completing a smaller turn without an emergency correction, is meaningful progress.
Plan a Lake Austin charter around technique practice
If carving is your priority, say so when booking. Tell the crew whether you currently ride with the rope, ride ropeless, or already make small turns. Describe what actually happens during your attempts rather than simply labeling yourself intermediate.
For example, “I can ride without the rope, but I lose the wave whenever I turn away from it” gives an instructor a useful starting point. It also helps set expectations without promising a particular result.
Texas Wakesurf Charters offers captained private wakesurf and lake-day charters on Lake Austin in Austin, Texas. Included are an expert captain and water sports instructor, fuel, top-tier water sports equipment, and a complimentary cooler with ice.
A private charter lets your group discuss a surf-focused plan with the crew, while leaving operating and safety decisions to the captain. Explore the available experiences and vessel information when deciding whether the outing fits your group's priorities.
Public wake surf sessions are a separate, non-private option priced at $100 per person with 5–8 people. Do not assume a public session gives you exclusive use of the boat or the same scheduling flexibility as a private booking.
Review current pricing and policies before confirming your plans. A mandatory 20% gratuity is due to the captain, so account for it when setting your budget. If you need clarification about lesson structure or booking logistics, consult the FAQ or ask before reserving.
Ready to work on smoother, more controlled turns? Book a charter and tell the crew that learning to carve is your next wakesurfing goal.
Frequently asked questions
When should I start learning to carve on a wakesurf board?+
Start when you can hold a stable riding line, recognize speed changes, and return to neutral after small adjustments. Have an instructor assess your readiness before adding turns.
Why do I lose the wave when I try to carve?+
Your turn may be too wide, your return may start too late, or you may begin outside a supportive part of the pocket. Try a smaller arc from a stable starting position and ask your instructor to assess your pressure control.
Can I practice wakesurf turns while holding the rope?+
An instructor may use rope-assisted drills to introduce small direction changes. The rope requires active management, and pulling against a taut line can mask whether the wave is sustaining you. Never wrap the rope around your body or turn across loose line.
Is carving the same as pumping a wakesurf board?+
No. Carving focuses on controlled, arcing direction changes. Pumping uses repeated, coordinated movements to generate or preserve speed. Learning small individual turns before combining the skills makes feedback easier to understand.
Do I need a different wakesurf board to learn carving?+
Not necessarily. An appropriately sized board that you already control comfortably is a sensible starting point. Ask your instructor to assess the board before changing equipment or fins.
Can I request carving instruction on a Lake Austin charter?+
Tell Texas Wakesurf Charters your current ability and carving goal when booking. An expert captain and water sports instructor is included with the charter. The crew can discuss a suitable progression, with the actual session guided by conditions and rider readiness.
Ready to ride?