
When to Let Go of the Wakesurf Rope: Finding the Pocket and Controlling Speed
October 15, 2026 · By Jordan Miller
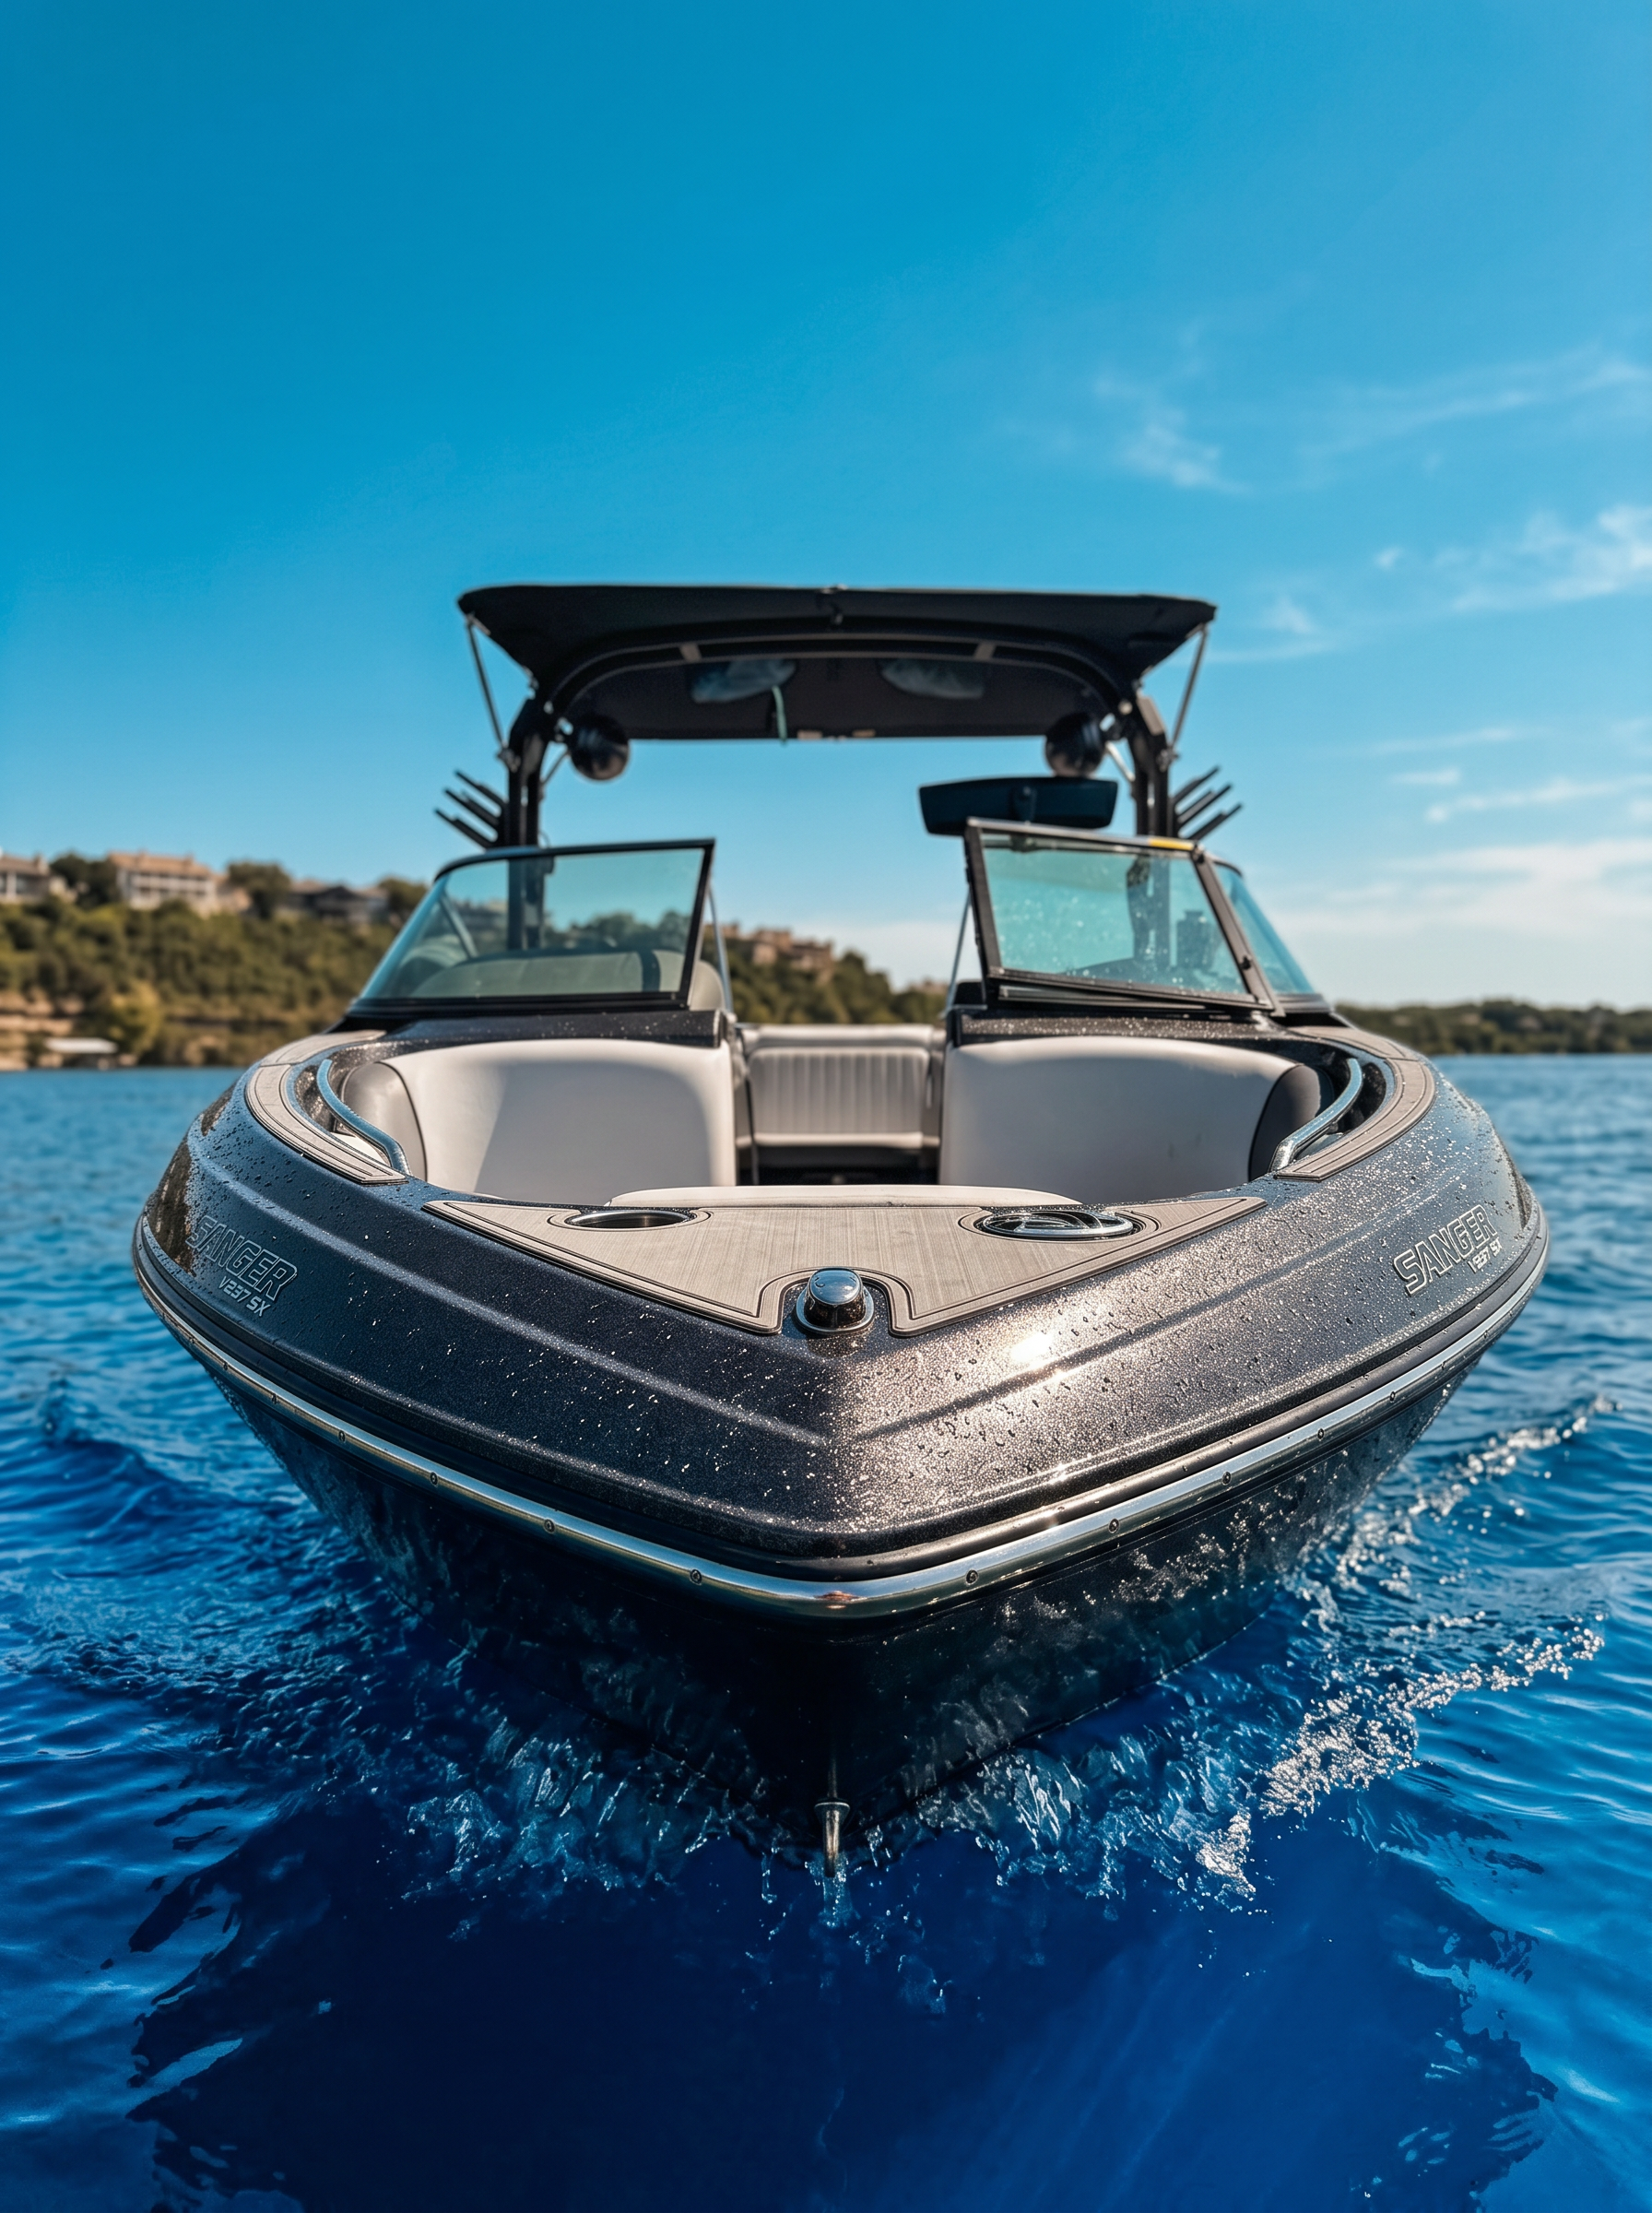
The right time to release the rope is when you no longer need it
You are standing on the board, the boat is moving steadily, and the wave is right behind you. Someone cheers, and suddenly letting go of the rope feels like the obvious next step.
But standing up and riding without the rope are different skills.
The best time to release the wakesurf rope is when you can stay in the wave’s usable pocket with a slack line, maintain a balanced stance, and make small speed corrections without pulling yourself forward. You also need a clear, instructor-directed plan for getting the rope out of your riding space.
That is a more useful milestone than simply staying upright for a few seconds.
This guide focuses on the transition from a supported ride to controlled, rope-free wakesurfing. It explains what the pocket feels like, why riders lose it, and how to practice on a coached Lake Austin outing without rushing the process.
What the wakesurf pocket actually is
The pocket is the part of the wave where its energy can keep your board moving with the boat without rope tension.
It is not one fixed spot that looks identical behind every boat. Its location and usable size depend on the boat’s setup, the board, the rider, and the water conditions. Even during the same outing, passing wakes and changes in your stance can affect how the ride feels.
Think of the pocket as a working area rather than a target painted on the water.
Three signs you are finding it
You are likely entering a usable part of the pocket when:
- The rope develops slack without you sharply pulling yourself forward.
- Your board continues moving with the wave instead of steadily dropping behind it.
- You can make small adjustments while keeping your upper body relatively quiet.
A moment of slack is encouraging, but it is not the whole test. A rider can briefly coast into slack and then immediately lose speed.
The stronger signal is repeatability: you can settle into slack, make a small correction, and return to balance without relying on the line.
Why the pocket can feel inconsistent
New riders often assume the boat changed speed whenever they move forward or backward. Sometimes conditions or boat setup do matter, but rider movement can create a similar sensation.
Straightening your legs, leaning your shoulders, rotating your hips, or pushing too hard through one foot can change how the board travels across the wave. The result may feel like the wave suddenly gained or lost power.
Before asking for a setup change, let the instructor watch a few attempts. A small stance correction may solve the problem more effectively than changing the wave.
Use a readiness checklist instead of a countdown
There is no universal number of seconds you must ride before releasing the rope. There is also no reason to release it just because another rider did.
Use these checkpoints instead:
- The boat and riding area are settled. The captain is maintaining the operating conditions appropriate for the session, and the instructor is not asking you to pause or reset.
- You are riding with sustained slack. The line is not repeatedly pulling your arms straight.
- Your stance is stable. Your knees are soft, your feet feel planted, and you are not hanging backward from the handle.
- You can correct a small drift. You have shown that you can move back toward your useful riding area without a hard rope pull.
- The rope-clearing plan is understood. You know when and where the instructor wants you to release the handle, and the crew is ready to recover it.
If one of those pieces is missing, keep practicing with support.
A session with several controlled, slack-line rides can be more productive than a session filled with rushed releases and immediate falls.
Build a stance that works without the handle
The rope can hide balance problems. A rider may look stable while actually using handle tension to support much of their posture.
When that support disappears, the same stance stops working.
Keep your knees soft, not deeply locked into a squat
A modest bend in your knees gives you room to absorb changes in the water and adjust pressure through the board.
Very straight legs make small disturbances harder to manage. An exaggerated squat can be tiring and may push your hips away from a balanced position.
Aim for an athletic stance you can move from easily. You should feel ready to make a small correction, not braced against a strong pull.
Center your body over the board
If your hips are behind your feet and your arms are pulling against the line, you are probably using the rope as a support system.
Instead, work toward keeping your body balanced over the board. Your instructor may adjust your foot placement or ask you to soften your elbows so you stop hanging from the handle.
Avoid treating a large shoulder lean as a speed-control technique. It often creates instability before it creates useful board movement.
Look toward your intended riding path
Staring at your front foot makes it harder to read your position on the wave. Watching the handle can encourage you to solve every problem with your arms.
Look toward the open riding area ahead of your board while remaining aware of the boat, rope, and instructor. Let your eyes help guide your direction rather than repeatedly checking whether your feet are still there.
Control speed with small pressure changes
You will often hear a simple coaching cue: front-foot pressure helps you gain speed, while rear-foot pressure helps you slow down.
That is a useful starting point, not a command to stomp on either end of the board.
Your speed also depends on your path across the wave, the board’s trim, and where you are riding on the face. Pressure and direction work together.
When you are drifting backward
If you are gradually falling behind the pocket, try the small adjustment your instructor recommends. Often that means gently increasing pressure toward the front foot while keeping your body centered and guiding the board toward a more useful part of the wave.
Do not lunge forward from the waist. Too much forward pressure can bury the nose, especially if your board is already pointed into uneven water.
Make one small change, feel the response, and then return toward neutral. Holding the same correction too long can create the opposite problem.
When you are moving too far forward
If you are closing the distance toward the boat, reduce speed promptly using the instructor’s cue. A small shift toward rear-foot pressure may help, but your position and path matter too.
Never treat the boat’s platform as a stopping point or something to grab. Maintain the riding separation directed by the crew.
If you cannot control your forward movement, end the attempt according to the fall procedure covered in your safety briefing. Saving the ride is less important than keeping clear of the boat.
Why overcorrection causes the back-and-forth cycle
A common pattern looks like this:
- You drift backward.
- You push hard through the front foot.
- You surge forward.
- You press hard through the rear foot.
- You stall and drift backward again.
The problem is not necessarily that you misunderstood speed control. You may simply be making corrections that are too large or holding them too long.
Think of each adjustment as a brief nudge followed by a return to balance. Let the board respond before adding another input.
Four useful drills before going rope-free
These drills belong in a supervised session with an appropriate wakesurf boat, suitable equipment, and the captain’s approval. They are not a reason to operate closer to a boat or to experiment with an unsuitable propulsion setup.
Wakesurf only behind a vessel specifically designed and approved for the activity, with propulsion safely separated from the rider. Never wakesurf behind a conventional exposed-propeller outboard or sterndrive.
Drill 1: Find slack without pulling
Start from a stable supported ride. Keep a secure, relaxed grip and follow the instructor’s cues to find a position where the rope becomes slack.
The goal is to let the wave carry you, not to pull yourself toward the boat and create artificial slack.
If the rope tightens again, use it as support while you reset. Do not jerk the handle to rescue the attempt.
What this teaches: the difference between wave-driven speed and arm-driven movement.
Drill 2: Hold your shape while the line is slack
Once you find slack, notice whether your posture changes.
Do you stand taller? Twist toward the boat? Extend the handle far in front of you? Those reactions can move you out of balance just as the wave begins supporting you.
Keep your stance quiet and your grip relaxed but secure. Follow the instructor’s guidance on handle position, and never gather or coil loose rope around your hands or body.
What this teaches: how to remain balanced when rope tension disappears.
Drill 3: Make one small speed correction
With the rope still available, practice responding to a slight drift rather than waiting until you are far out of position.
Your instructor might ask for a gentle forward-pressure adjustment, a brief reduction in speed, or a small change in board direction. Work on one cue at a time.
Avoid deliberately charging toward the boat to test your braking. The drill should stay within the riding area the instructor identifies.
What this teaches: early, modest corrections rather than emergency movements.
Drill 4: Practice the release cue
Before the actual release, review what happens next.
Who gives the cue? Where should the handle go? Who retrieves the line? What should you do if the rope does not clear cleanly?
Your instructor should choose the procedure for that vessel and session. Do not improvise a dramatic throw across the boat or toward another person.
What this teaches: releasing the rope is a coordinated action, not just opening your hand.
How to release the rope without disrupting the ride
A good release is usually a small event. You are already riding under the wave’s power; removing the rope simply makes that visible.
Keep the release separate from your speed adjustment
First establish a stable position. Then release on the agreed cue.
Trying to accelerate, change direction, straighten your stance, and throw the handle at the same time gives you several new balance problems at once.
If you need a significant correction, make it before releasing. There is no penalty for waiting another attempt.
Let the crew direct rope clearance
The exact release method depends on the setup and crew procedure. Follow the instructor’s direction so the handle and line move away from your feet and board and can be recovered promptly.
Do not:
- Wrap the rope around a hand, wrist, arm, waist, or leg.
- Step into a loop or allow loose line to collect around your feet.
- Throw the handle at passengers or toward a moving rider.
- Reach into a drifting line to save a ride.
- Try to stand on or kick away a rope that has entered your path.
If the rope does not clear as planned, prioritize avoiding entanglement and follow the instructor’s direction. Restarting is better than riding through a line hazard.
Return your attention to the wave
After releasing, riders sometimes watch the handle travel toward the boat. Their shoulders follow their eyes, the board turns, and the ride ends.
Once you have completed the agreed release, return your attention to your riding path and balance. Let the crew handle rope recovery.
Your next job is not to celebrate with a big movement. It is to keep doing the small things that were already working.
Troubleshooting the first rope-free attempts
An unsuccessful release is useful information. The key is identifying what happened before the fall rather than assuming you need more effort.
“I fall backward as soon as I let go”
You may still be leaning against rope tension before the release.
Return to slack-line practice and focus on keeping your body balanced over the board. Ask your instructor whether your hips or foot placement are making you dependent on the handle.
The fix is usually not a harder pull immediately before letting go.
“I stay up briefly, then drop off the back”
You may have released during a short coast rather than from a sustainable position. You may also be missing the earliest sign that the board is losing speed.
Practice finding repeatable slack and responding to small backward drift while the rope is still available. Ask the instructor to identify the useful riding area for your particular wave rather than aiming for a generic spot you saw in a video.
“My board shoots forward when I release”
You may be adding front-foot pressure or moving your upper body during the release. Another possibility is that you were accelerating before letting go and never returned to neutral.
Separate the steps: settle, release, maintain. Avoid using a strong forward surge as proof that you are ready.
“The nose keeps catching”
Too much forward pressure, an unhelpful board angle, or disturbed water can contribute. Foot placement and board fit can also matter.
Do not keep repeating a large forward lean. Ask the instructor to evaluate your stance and the board’s trim. Equipment is part of the picture, but changing boards without understanding the movement may not address the cause.
“I can do it once, but not again”
That is common during skill development. A successful attempt may have combined good positioning, a quiet stance, and favorable water without you recognizing each piece.
Try to identify one repeatable cue, such as keeping your knees soft or returning to neutral after a correction. Recreating a simple movement is more useful than trying to recreate the excitement of the successful ride.
Keep safety separate from the goal of a longer ride
Rope-free riding is a milestone, not a reason to relax the session’s safety procedures.
Wear a properly fitted, approved life jacket appropriate for the activity and follow the crew’s briefing. A flotation garment intended for another purpose is not automatically a substitute for an approved life jacket.
Fall clear rather than trying to rescue every attempt
If a fall is unavoidable, avoid diving headfirst or reaching toward the boat. Follow the coached fall technique and aim to stay clear of the board and rope.
Once you are in the water, signal that you are okay if you can, remain visible, and follow the captain’s directions for retrieval. Do not swim toward the stern or attempt to board until the captain says it is safe and the propulsion is secured.
Respect the stern and exhaust area
Do not hang on the swim platform while the engine is running or linger in the stern’s exhaust area. Carbon monoxide is a hazard around boats, and it cannot be reliably detected by smell.
Tell the crew immediately if anyone develops headache, dizziness, nausea, or unusual weakness. Those symptoms should not automatically be dismissed as fatigue or motion sickness.
Stop before fatigue becomes a technique problem
Tired riders often straighten their knees, grip harder, and react later. That can make the pocket feel harder to find even when the basic technique is improving.
Take a break when your movements become less controlled. Avoid alcohol before and during participation in watersports, and speak up about discomfort or uncertainty.
A good stopping point might be one controlled release, a cleaner slack-line ride, or simply a better understanding of what to practice next.
Practicing this skill on Lake Austin
Lake Austin is a shared waterway, not a controlled training pool. Other boats, passing wakes, wind, and visibility can affect where and when a captain chooses to run a session.
If the water becomes unsettled, your instructor may suggest keeping the rope longer, changing the drill, or taking a break. That is sensible session management, not a setback in your progression.
For broader local planning context, explore the Lake Austin guide. Conditions on the day still govern the captain’s decisions.
Give the instructor a specific starting point
Instead of saying only that you are a beginner, describe what you can currently do:
- “I can get up consistently, but the rope stays tight.”
- “I can find slack, but I fall when I release.”
- “I can ride without the rope briefly, but I cannot recover when I drift back.”
- “I am comfortable riding, but I want smaller, more controlled adjustments.”
That information helps the instructor choose a useful first drill. If you have video from an earlier session, ask whether it would help explain the issue; do not assume you need to diagnose yourself first.
Set expectations for the group
On a shared private outing, not everyone needs the same milestone. One person may be learning to stand, another may be practicing slack-line control, and another may prefer relaxing on the boat.
Tell your group what you are working on so encouragement does not turn into pressure to release too soon. One clear instructor cue is usually more useful than several passengers shouting different directions.
Texas Wakesurf Charters offers captained private wakesurf and lake-day charters on Lake Austin in Austin, TX. Included are an expert captain and water sports instructor, fuel, top-tier water sports equipment, and a complimentary cooler with ice.
You can review the experiences and vessel information when deciding how a coached outing fits your group. Check current pricing and policies before reserving. A mandatory 20% gratuity is due to the captain.
For riders considering a non-private option, public wake surf sessions are $100 per person with 5–8 people. Those sessions are not private charters, so choose based on whether you want an individual place in a shared session or a private outing for your group. Neither format guarantees a particular progression milestone.
Make control the milestone, not just letting go
The most useful sign of progress is not an empty hand. It is understanding how to stay balanced, recognize a small drift, and respond without a big corrective movement.
Keep the rope until it is no longer doing the work. Practice finding slack, make smaller adjustments, and coordinate the release with your instructor. If the result is a short but controlled ride, you have something solid to build on.
Ready to work on your next step with on-water coaching? Book a charter on Lake Austin and tell the instructor where your riding stands today.
Frequently asked questions
When should I let go of the wakesurf rope?+
Release when you can maintain a stable ride with sustained slack, make small corrections without pulling on the handle, and follow an agreed rope-clearing procedure. Your instructor should confirm that your position and the conditions are appropriate.
Why do I fall behind the wave after releasing the rope?+
You may be releasing during a brief coast rather than from a sustainable position in the pocket. Delayed speed corrections, stance, board direction, and conditions can also contribute. Practice repeatable slack-line riding and have an instructor assess the cause.
Does front-foot pressure make a wakesurf board go faster?+
Gentle front-foot pressure often helps increase speed, while rear-foot pressure can help reduce it. However, board direction and position on the wave also matter. Large forward movements can bury the nose, so use small, coached adjustments.
Is it okay to keep holding the rope while learning?+
Yes. Keeping the rope while practicing balance and slack-line control is a useful progression step. Maintain a secure grip, never wrap the line around your body, and follow the instructor’s guidance to prevent loose rope from becoming an entanglement hazard.
What is included in a Texas Wakesurf Charters private outing?+
Private wakesurf and lake-day charters on Lake Austin include an expert captain and water sports instructor, fuel, top-tier water sports equipment, and a complimentary cooler with ice. A mandatory 20% gratuity is due to the captain. Check the pricing page for current charter rates.
Are public wake surf sessions private lessons?+
No. Public wake surf sessions are non-private sessions priced at $100 per person with 5–8 people. Choose a private charter if you want an outing reserved for your own group.
Ready to ride?